
Choosing the Right Audio Monitors for Broadcast, Post Production, and Pro Studios
Accurate monitors do not make your work sound “better”. They make your decisions more reliable.
In broadcast and post, reliability is everything. You need to hear sibilance before it turns into listener fatigue, catch edit clicks before they get signed off, and judge low-end balance without your room lying to you. That is why the best monitor choice is rarely the biggest box or the most flattering sound. It is the system that is predictable in your space, and consistent day to day.
This guide is written for semi-pro to pro users, and it focuses on the technical factors that actually affect translation. Along the way, I will anchor a few real-world room scenarios to current products you can actually spec.
The first decision is not the speaker, it is the listening distance
Most monitor buying mistakes are really “wrong monitor for the distance” mistakes.
- Nearfield (roughly 0.7 to 1.3 m): typical edit suites, desks, small VO and podcast rooms.
- Midfield (roughly 1.5 to 2.5 m): larger control rooms, small mix stages.
A monitor designed to integrate at 2 metres will often sound disjointed and bass-heavy at 80 cm. Likewise a small nearfield can run out of headroom if you are sitting too far back.
Scenario: The broadcast edit suite (nearfield, arm’s length)
This is the classic “editor at a desk” environment, where you want a consistent nearfield reference and minimal room drama.
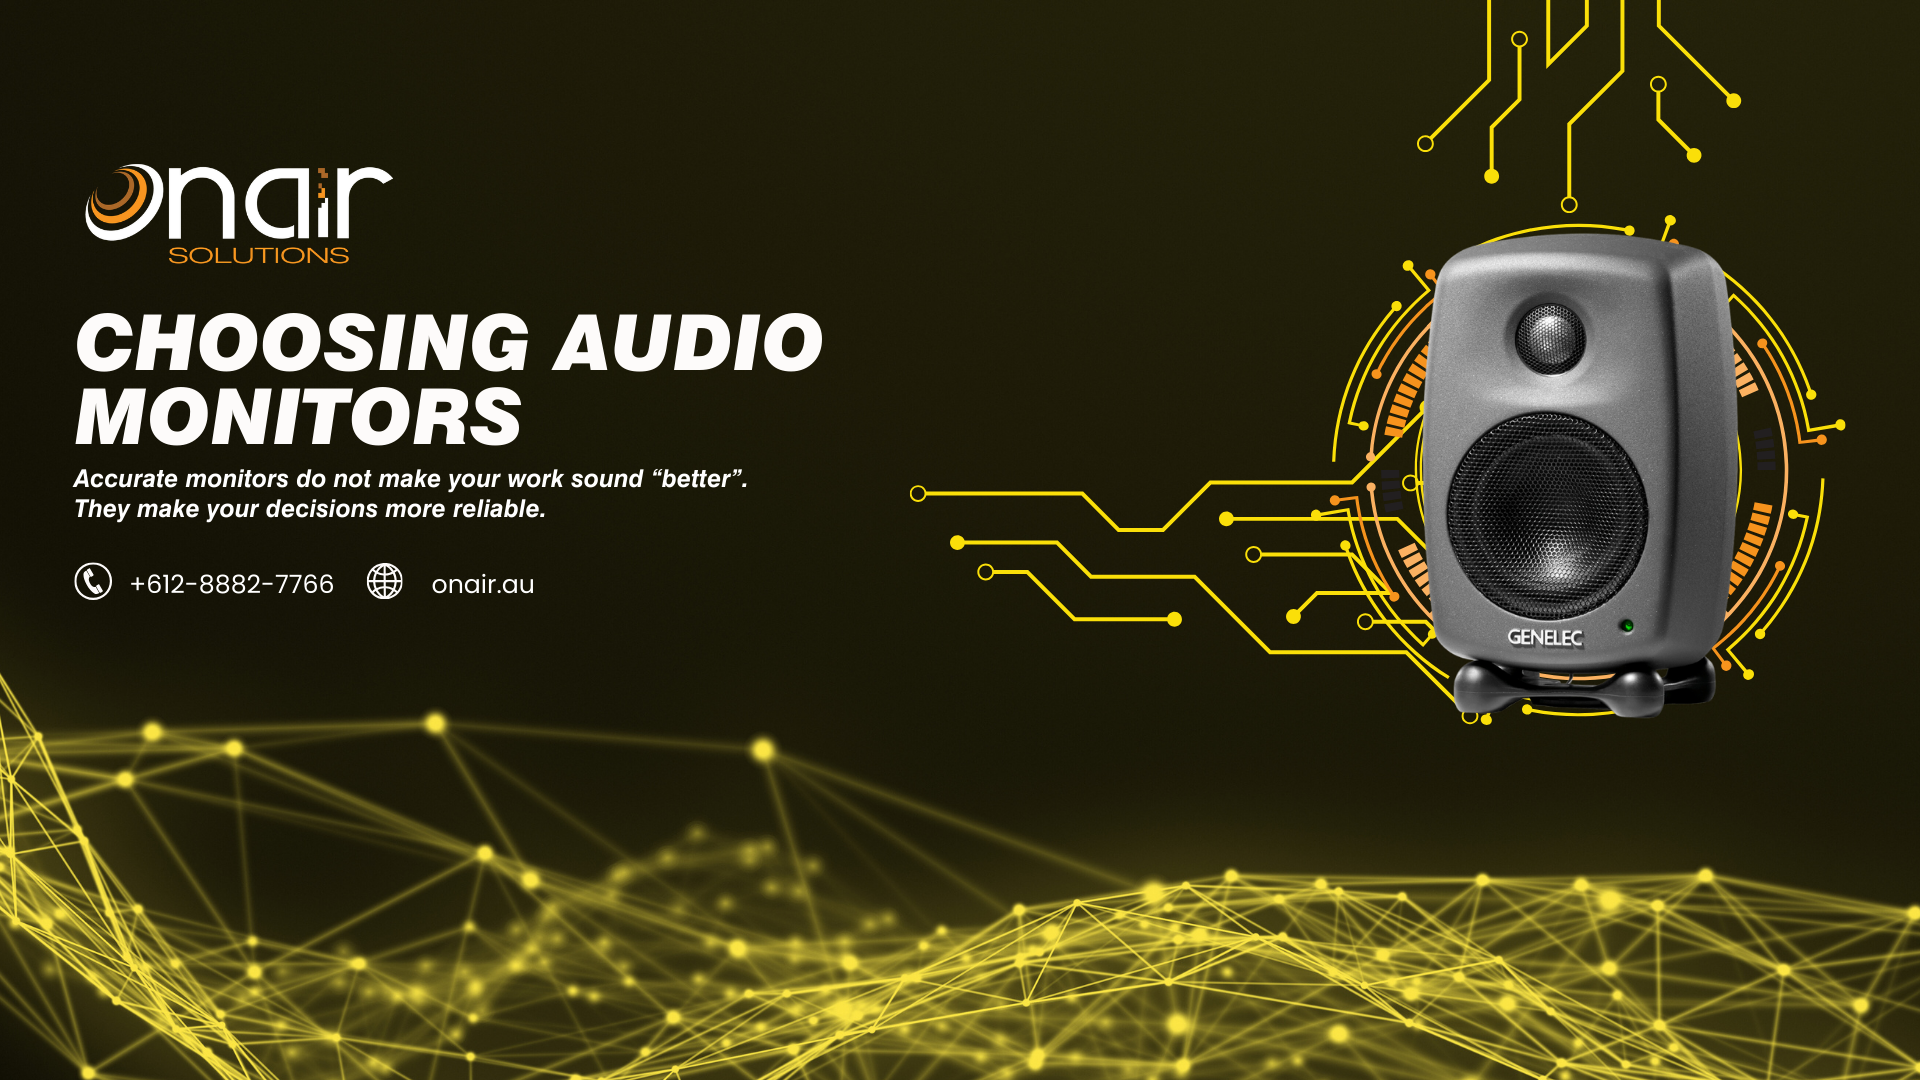
- If you need a compact, facility-friendly reference: Genelec 8010A is a common fit when space is genuinely tight, but you still need a truthful nearfield (see: https://onair.au/audio/speakers/gen-8010ap)
- If you want more headroom and low end without going large: Genelec 8020D is a frequent step up for edit suites and small rooms (see: https://onair.au/audio/speakers/gen-8020dpm)
- If you are in that “sweet spot” room size where 5-inch nearfields make sense: Genelec 8030C is a strong general-purpose choice for post and broadcast-style monitoring (see: https://onair.au/audio/speakers/gen-8030cp)
Room modes, SBIR, and why bass is where you get tricked
If you want one technical concept to remember, make it this: below about 300 Hz you are mostly hearing the room.
Two issues dominate in small to medium rooms:
- Room modes: standing waves that create big peaks and nulls at certain frequencies. Move your head 20 cm and the low end changes.
- SBIR (speaker boundary interference response): cancellations and boosts caused by reflections off walls and the desk.
Practical outcomes:
- If your room is small and untreated, prioritise controlled low end rather than maximum extension.
- Boundary EQ switches (desk, wall, corner) are not marketing fluff, they can be the difference between “usable” and “constantly second-guessing”.
- A subwoofer is only an upgrade if you can place it, align phase, and calibrate level. Otherwise it is just a louder room problem.
Scenario: The podcast room that looks great on camera (but is acoustically average)
In a lot of real podcast rooms, the bottleneck is not the mic, it is room reflections and low-mid build-up. You want monitoring that makes those issues obvious.
- If the room is built around a modern, do-it-all production console: RØDE RODECaster Pro II (see: https://onair.au/audio/mixers/rod-rcpii-i) or the smaller RØDE RODECaster Duo (see: https://onair.au/audio/mixers/rod-rcduo-i)
- If you need a clean comms plus monitoring headset for recording and talkback: RØDE NTH-100M (see: https://onair.au/audio/headphones/rod-nth100m)
- If you want closed-back style critical monitoring for editing and QC checks: RØDE NTH-100 (see: https://onair.au/audio/headphones/)
In setups like these, your monitors and headphones need to reveal proximity build-up, plosives, and room tone shifts early, because those problems compound fast once you start compressing and limiting.
What to look for in monitor design (the bits that matter in pro work)
Directivity (dispersion) and the reflections problem
In real rooms, you hear the monitor plus early reflections. A speaker with smoother, more consistent directivity gives you a more stable tonal balance as you move slightly, and it makes the room easier to manage.
What to listen for:
- Consistent tonal balance off-axis, not just on-axis detail
- A stable phantom centre (dialogue sits in the middle without wandering)
Why it matters:
- Broadcast dialogue decisions live in the presence range, and early reflections can exaggerate or hide that region.
Scenario: The “three editors, one room” problem
If multiple people share the same suite, you want monitoring that behaves consistently at slightly different sitting positions. This is one reason controlled-dispersion nearfields (for example Genelec 8020D or 8030C in the sizes above) are often chosen in facilities.
Crossover behaviour and midrange honesty
A lot of the “this sounds impressive but doesn’t translate” problem lives around the crossover region.
What to listen for:
- Voices sound continuous as they move up and down in pitch, no honk, no hole
- Sibilance is easy to identify, but not etched or spitty
This is where speech and narrative content is won or lost.
Headroom, distortion, and fatigue
Professional work is long sessions at sensible levels with occasional peaks.
What to look for:
- Clean transients without crunch on loud consonants, snare hits, or impacts
- Low listening fatigue after an hour
A monitor that feels “exciting” at first can be the one that destroys your judgement by 4 pm.
Scenario: Fast-turnaround promos
If you are cutting broadcast promos all day, you will hit the monitor with loud, dense material. Headroom and low distortion matter more than deep bass extension, because distortion is what makes you under-mix presence and over-mix high end.
Noise floor (self-noise)
In VO and dialogue editing, monitor hiss matters.
If you work close to the speakers in a quiet room, pay attention to:
- Audible hiss at idle from 0.5 to 1 m
- Hum or buzz from ground loops (often not the monitor’s fault, but your gain staging)
Calibration and reference level, the part most rooms skip
You do not need a full standards lab to benefit from calibration thinking.
- Set a repeatable reference level so your ears are not your moving target.
- Use a basic SPL check and keep a consistent monitor knob position.
- If your monitors or ecosystem support room correction, use it to smooth the low end and tame obvious problems, not to force a smiley-face curve.
A consistent monitoring level improves translation more than swapping to a slightly different speaker.
Scenario: The mix that works everywhere
A disciplined reference level is how professionals stop chasing their tail. It is also how you can make meaningful comparisons between two monitor options, because you are not just listening louder and thinking it is better.
Choosing monitor size like a professional (not like a spec sheet)
A useful way to pick size is: choose the smallest monitor that gives you the headroom and low-end definition you actually need.
- Compact nearfields (around 4 to 5 inch)
- Best for: small edit suites, dialogue, podcast rooms, desktop production
- Strength: controlled bass, strong midrange clarity, less room excitation
- Workhorse nearfields (around 6 to 7 inch)
- Best for: mixed programme (dialogue, music beds, effects), small mix rooms
- Strength: better headroom and low-end definition without going full midfield
- Larger monitors (8 inch and up) or sub systems
- Best for: larger rooms, longer distances, calibrated spaces
- Strength: extension and impact
- Watch-out: demands placement, alignment, and room control
Scenario: Compact rooms, racks, and “monitoring where there is no space”
Not all monitoring happens in a pretty studio. Sometimes you need audio monitoring in machine rooms, OB racks, video monitoring positions, or cramped control points.
- For a rack-based monitoring position: Fostex RM3 1U Rack-mount Stereo Monitor (see: https://onair.au/audio/monitoring/fos-rm3) and the Dante-enabled RM3DT variant can suit AoIP-heavy environments.
- For small active monitor speakers used as utility monitors: the Fostex 6301 series is commonly deployed in tight spaces and technical rooms, including variants with different input formats.
- Example: Fostex 6301NE (electrically balanced) (see: https://onair.au/audio/speakers/fos-6301ne)
- Example: Fostex 6301ND (AES/EBU input) (see: https://onair.au/audio/speakers/fos-6301nd)
- Example: Fostex 6301DT (Dante) (see: https://onair.au/audio/speakers/fos-6301dt)
These are not “mix the record” monitors, they are practical, purpose-built monitoring points that let you hear what is going on when space and mounting options are limited.
Translation checks that professionals actually use
A monitor choice is only proven when it survives a repeatable check routine.
Use a short reference set that matches your deliverables:
- Dry dialogue (male and female)
- Dialogue with music bed at broadcast-style balance
- A “sibilance torture test” voice (close mic, lots of ‘s’)
- A low end check (kick plus bass, or impacts) that exposes one-note rooms
Quick procedure:
- Quiet check: if the mix collapses, your midrange and dynamics are off.
- Mono check: centre information should stay solid, not hollow or phasey.
- Low-mid honesty check (roughly 150 to 400 Hz): if voices feel thick in your room but thin elsewhere, your monitoring position and room are likely exaggerating this band.
Scenario: Dante and SDI workflows in modern facilities
A very modern pain point is bridging audio between SDI video gear and Dante networks without adding messy, unreliable conversion chains.
- Sonifex AVN-DIO10 (Dante to 3G/HD/SD-SDI embedder and de-embedder) is designed for exactly this job, and is a solid example of the kind of infrastructure that protects monitoring and routing integrity in a facility (see: https://onair.au/audio/interface/son-avn-dio10)
- If you are working in 12G environments: Sonifex AVN-DIO10-12G is the same concept aimed at higher bandwidth SDI workflows (see: https://onair.au/audio/converters/son-avn-dio10-12g)
The supporting chain matters more than most people admit
In broadcast and studio environments, monitoring includes everything upstream.
- Balanced audio paths (XLR or TRS) reduce noise and interference.
- Sensible gain staging prevents hiss and keeps monitor input sensitivity in a usable range.
- Reliable routing and monitoring control prevents level surprises.
In other words, a clean infrastructure layer can make any good monitor system easier to trust, especially when you are switching between sources, talkback, records, and confidence feeds.
Scenario: The facility backbone
Sometimes the “upgrade” is not a new pair of speakers. It is removing points of failure in the monitoring chain.
- Sonifex AVN-CU2 is a current example of a Dante control unit that can sit in the facility layer, supporting consistent control and connectivity in networked audio environments (see: https://onair.au/audio/communications/son-avn-cu2)
The bottom line
For semi-pro to pro work, the right monitor is the one that tells the truth in your room at your listening distance, at a repeatable level, for long sessions.
Prioritise directivity, crossover behaviour, headroom, and low-frequency control over headline specs. Commission the room properly, build a translation routine, and you will get more consistent outcomes than any brand swap can deliver on its own.